vps网站如何绑定多个域名/建站开发
代码地址:FCN.tensorflow
环境配置
CUDA 9.0
cuDNN 7.0.5
python 2.7
tensorflow-gpu 1.5
# 创建虚拟环境
conda create -n tensorflow-fcn python=2.7
# 安装以依赖
pip install tensorflow-gpu==1.5.0
准备数据集
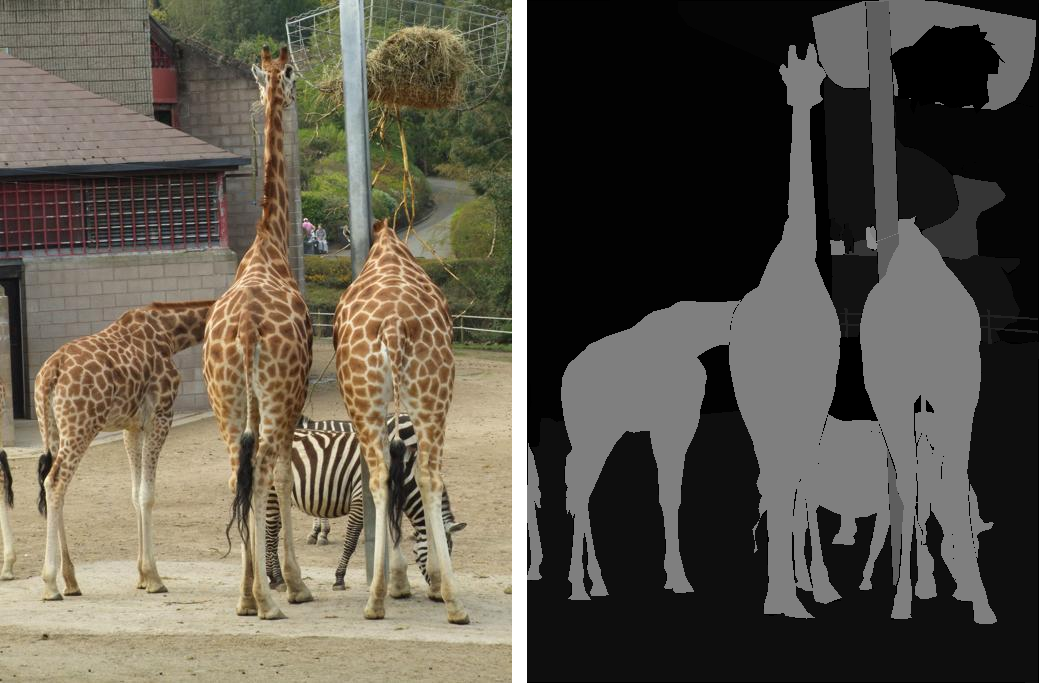
代码中使用的数据是这样的,每张原图对应一张标签,标签是 8 位深度,像素值代表了类别,一般都是 0 表示背景,1、2、3… 分别表示第一类、第二类、第三类… 以此类推。
数据组织结构如下:
- Data_zoo- ADEChallengeData2016- annotations- training- validation- images- training- validation
将自己的数据也按照这个格式组织,压缩为 zip 包放在 Data_zoo/mydata 下,后面代码会自动解压并生成 pickle 文件。
数据接口修改
使用自己的数据集进行训练,对以下代码做出对应修改:
# FCN.py
tf.flags.DEFINE_string("logs_dir", "logs/refuge", "path to logs directory")
tf.flags.DEFINE_string("data_dir", "Data_zoo/refuge/", "path to dataset")
# 训练
tf.flags.DEFINE_string('mode', "train", "Mode train/ test/ visualize")
# 测试
tf.flags.DEFINE_string('mode', "test", "Mode train/ test/ visualize")NUM_OF_CLASSESS = 3   # 三类,包括背景
IMAGE_SIZE = 512      # crop后输入网络的图像大小# 数据读取改用自己的接口
train_records, valid_records = scene_parsing.read_my_dataset(FLAGS.data_dir)
在 read_MITSceneParsingData.py 添加自己的数据接口,我们自己的肯定不需要下载了,直接解压就可以:
# read_MITSceneParsingData.py
def read_my_dataset(data_dir):pickle_filename = "refuge.pickle"pickle_filepath = os.path.join(data_dir, pickle_filename)if not os.path.exists(pickle_filepath):utils.extract(data_dir, tar, is_zipfile=True)data_folder = os.path.splitext(tar)[0]result = create_image_lists(os.path.join(data_dir, data_folder))print("Pickling ...")with open(pickle_filepath, 'wb') as f:pickle.dump(result, f, pickle.HIGHEST_PROTOCOL)else:print("Found pickle file!")with open(pickle_filepath, 'rb') as f:result = pickle.load(f)training_records = result['training']validation_records = result['validation']del resultreturn training_records, validation_records
在 TensorflowUtils.py 定义对数据压缩包的操作:
def extract(dir_path, tar, is_tarfile=False, is_zipfile=False):if not os.path.exists(dir_path):os.makedirs(dir_path)filename = tarfilepath = os.path.join(dir_path, filename)if not os.path.exists(filepath):raise ('NO file named ',filepath)if is_tarfile:tarfile.open(filepath, 'r:gz').extractall(dir_path)elif is_zipfile:with zipfile.ZipFile(filepath) as zf:zip_dir = zf.namelist()[0]zf.extractall(dir_path)
另外,还要注意 read_MITSceneParsingData.py 的 create_image_lists 方法中图像后缀默认是 .jpg 的,根据自己需要可以改成 .png。
训练&测试
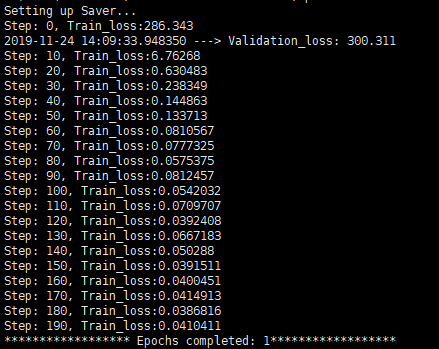
# 执行训练:
python FCN.py
正常跑起来输出:
# 执行测试:
python FCN.py
和训练是相同的文件,只需要修改 flags 中 mode 为 test 即可。