深圳建站公司优化建设公司网站大概需要多少钱?
我试图在一个程序中击败一个反机器人功能,用户必须按字母数字顺序点击图像中的字母。我已经设法使用预处理从背景中提取文本,但是仍然需要使用Tesseract对每个单独的字符进行倾斜以获得最佳结果。在
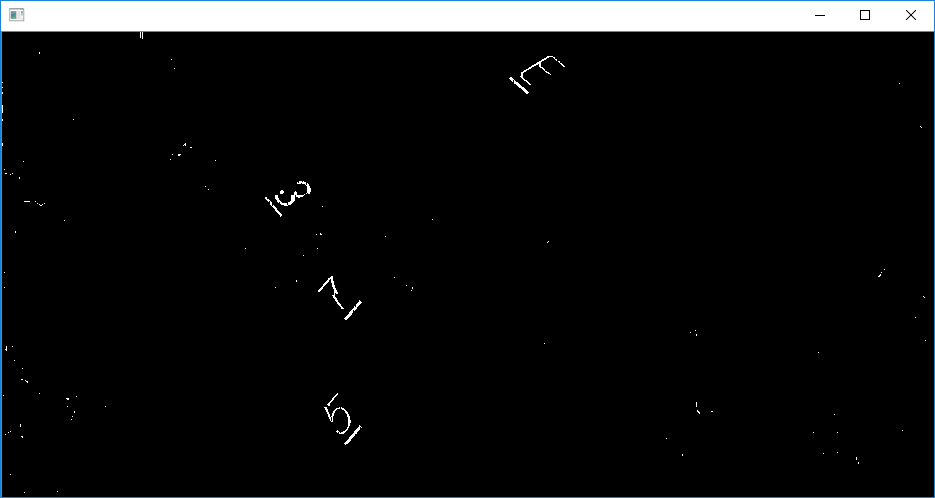
使用Hough线之前的图像,只是预处理
由HoughLinesP绘制的线条的原始图像

我尝试过使用Canny边缘检测器+Hough线来查找每个字符下面的行。然而,我认为这条线本身的质量是不一致的,而且我不能根据它的底线来区分。在
以下是我尝试过的代码:# -*- coding:utf-8 -*-
import cv2, numpy as np, time
img_roi = [48, 191, 980, 656] # x1, y1, x2, y2
src_img_dir = "images/source/9.png"
bg_img = cv2.imread("images/background.png", cv2.IMREAD_COLOR)[img_roi[1]:img_roi[3], img_roi[0]:img_roi[2]]
# The background of the area is constant. So I have used a reference background image and removed pixels which have a similar H value as the background
bg_hsv = cv2.cvtColor(bg_img, cv2.COLOR_BGR2HSV)
src_img = cv2.imread(src_img_dir, cv2.IMREAD_COLOR)[img_roi[1]:img_roi[3], img_roi[0]:img_roi[2]]
# This image is the image where letters are placed on top of the background image
src_hsv = cv2.cvtColor(src_img, cv2.COLOR_BGR2HSV)
mask = np.zeros([src_img.shape[0], src_img.shape[1], 3], dtype=np.uint8)
offset = 3
start_time = time.time()
for y in range(src_img.shape[0]):
for x in range(src_img.shape[1]):
sp = src_hsv[y][x]
bp = bg_hsv[y][x]
if bp[0]-offset <= sp[0] <= bp[0]+offset:
if sp[1] >= 109:
mask[y][x] = src_img[y][x]
elif sp[1] <= 90:
if sp[0] >= 67:
mask[y][x] = src_img[y][x]
elif sp[2] >= 125 and sp[1] >= 20:
mask[y][x] = src_img[y][x]
else:
mask[y][x] = src_img[y][x]
"""if sp[1] >= 60 and sp[2] >= 60:
mask[y][x] = src_img[y][x]
#mask[y][x] = conv"""
print("duration", time.time()-start_time)
mask = cv2.cvtColor(mask, cv2.COLOR_BGR2HSV)
#mask[:,:,2] = 255
mask = cv2.cvtColor(mask, cv2.COLOR_HSV2BGR)
mask_gray = cv2.cvtColor(mask, cv2.COLOR_BGR2GRAY)
ret, thresh = cv2.threshold(mask_gray, 0, 255, cv2.THRESH_BINARY | cv2.THRESH_OTSU)
opened = cv2.morphologyEx(thresh, cv2.MORPH_OPEN, (3,3))
opened = cv2.morphologyEx(opened, cv2.MORPH_OPEN, (3,3))
opened = cv2.erode(opened, (3,3))
opened = cv2.dilate(opened, (3,3))
opened = cv2.dilate(opened, (5, 5))
opened = cv2.morphologyEx(opened, cv2.MORPH_CLOSE, (3,3))
opened = cv2.erode(opened, (3,3))
opened = cv2.erode(opened, (3,3))
final_img = opened
#edges = cv2.Canny(final_img, 0, 255)
lines = cv2.HoughLinesP(final_img, 1, np.pi / 180, 20, minLineLength=10, maxLineGap=3)
for line in lines:
coords = line[0]
cv2.line(src_img, (coords[0], coords[1]), (coords[2], coords[3]), [255,255,255], 2)
#cv2.imshow("can", edges)
#cv2.drawContours(src_img, fixed_contours, -1, (0,255,0), 2)
cv2.imshow("src", src_img)
cv2.imshow("", final_img)
cv2.waitKey(0)
cv2.destroyAllWindows()